The puppy in the illustration has three details that make it recognizable at a glance: its long brown ears, tilted blue beret and yellow star tucked between its paws. For a brand ordering a custom plush, those details can become approval criteria. Here is how to carry them from a drawing to a packed order.
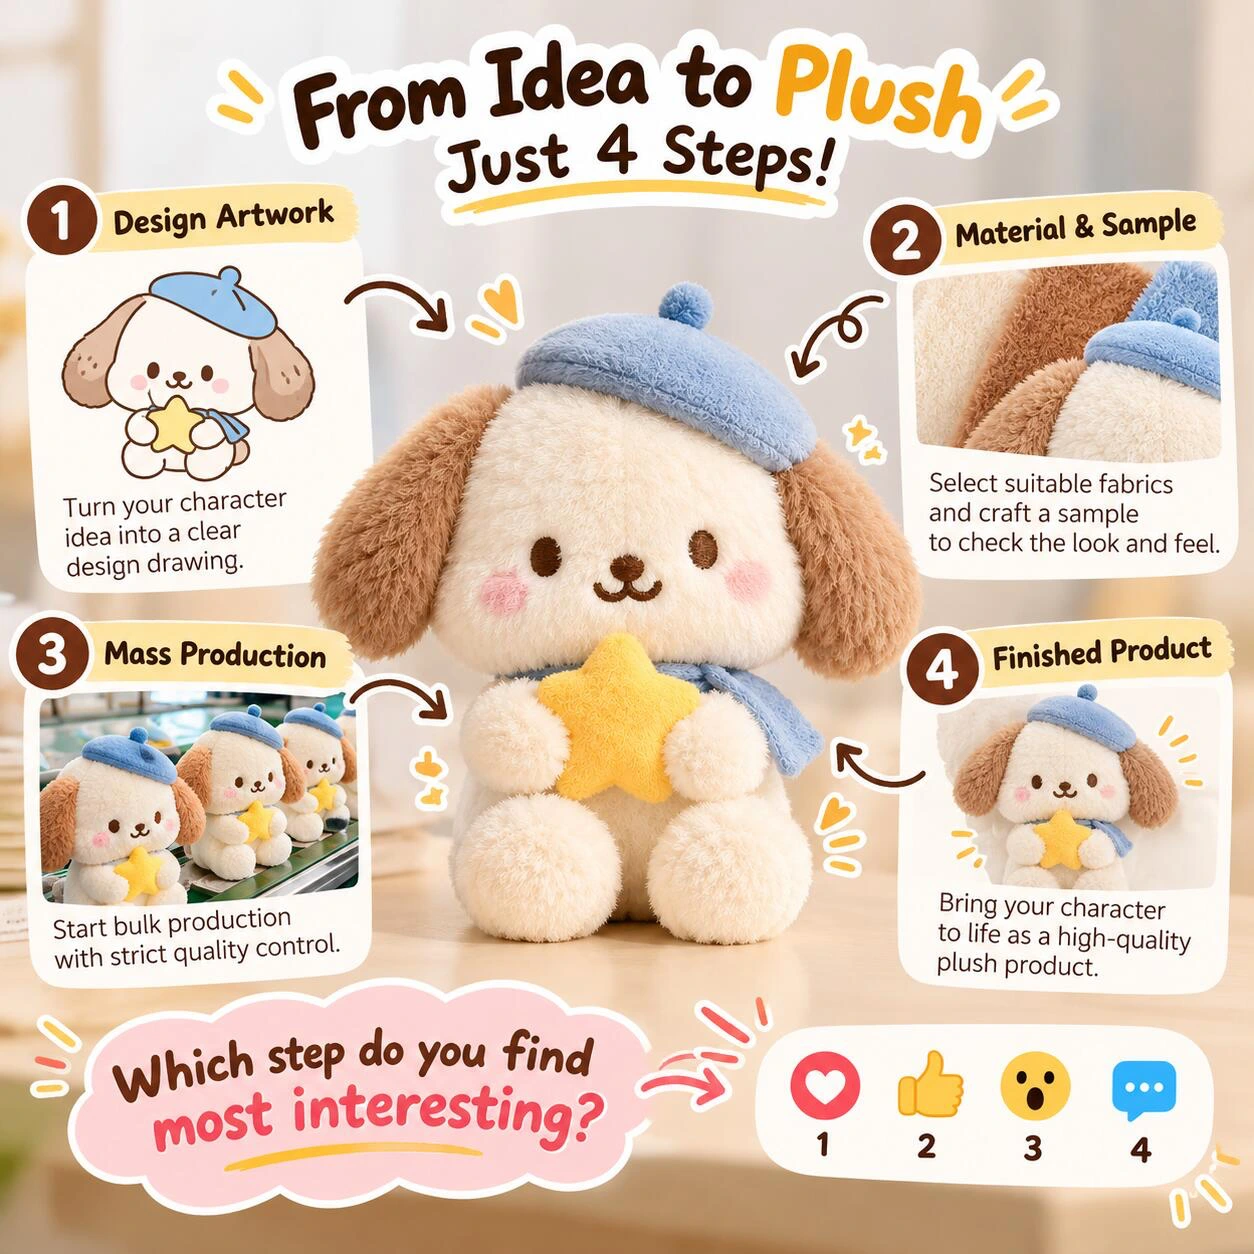
1. Mark up the artwork before requesting a sample
Send front, side and back views, with one finished measurement labelled clearly. For a seated puppy, specify whether height runs to the top of the head or to the pom-pom. Mark where the ears end, which way the beret tilts and how much of the star should be visible between the paws. A side sketch answers a question the front view leaves open: how far should the star project from the body?
2. Review the fabric and the first sample together
A fabric swatch can help you choose the feel of the coat. The sewn sample shows whether the eyes and mouth remain readable against that fabric. Ask for a straight-on photo at the intended size, then handle the sample to check how the ears hang and whether the puppy sits as drawn. If the smile is hard to see, ask the sample maker to compare a shorter pile on the muzzle with a change to the embroidery.
Return one marked-up photo for each revision. For example, “lower the beret edge to the line shown above the left eye” gives the maker a location to check. Keep a dated photo set and the approved physical sample as references for the order.
3. Give the production team repeatable checks
Agree on the measurement points and acceptable variation before the bulk run. For this design, a useful checklist would cover seated height, left and right ear length, hat position and the attachment points for the star. Ask to see an early production piece next to the approved sample, photographed from the same angle. If the paws hide more of the star, check its placement before the rest of the batch is sewn.
4. Check a finished piece in its actual packaging
Pack a finished sample in the proposed bag or retail box, then unpack it as a customer would. Does the beret still sit at the approved angle? Does a tag cover the face? Can the puppy sit upright after unpacking? Record any change to the packing orientation or tag position alongside the final packing photos.
What to include in your OEM enquiry
Send your character artwork, target size, quantity, destination and required delivery date. Identify the two or three features buyers should recognize first, and tell us whether you need retail packaging. If the character will become a bag charm, include its hanging orientation and attachment point, as in this embroidered plush head keychain.